
After posting Bram's nursery pictures I
decided I wanted to do something with the curtains. I've seen so
many pictures on Pinterest of people stenciling or painting stripes
on curtains...I figured I could do that. Plus I knew Chris wouldn't
approve of me buying new ones so I decided I would try my hand at
painting stripes.
I decided on stripes over stenciling because I wanted to copy Bram's
sheets. Here's a close up of the sheets (Bram at 20 weeks old):
 |
| Blue Steel |
4 inch roller
1 ½ inch blue painters tape
Paint samples from Lowes
Pencil
Garbage bags (since I didn't have any plastic sheeting) to catch the paint if it went thru the fabric
Garbage bags (since I didn't have any plastic sheeting) to catch the paint if it went thru the fabric
The paint colors I chose:


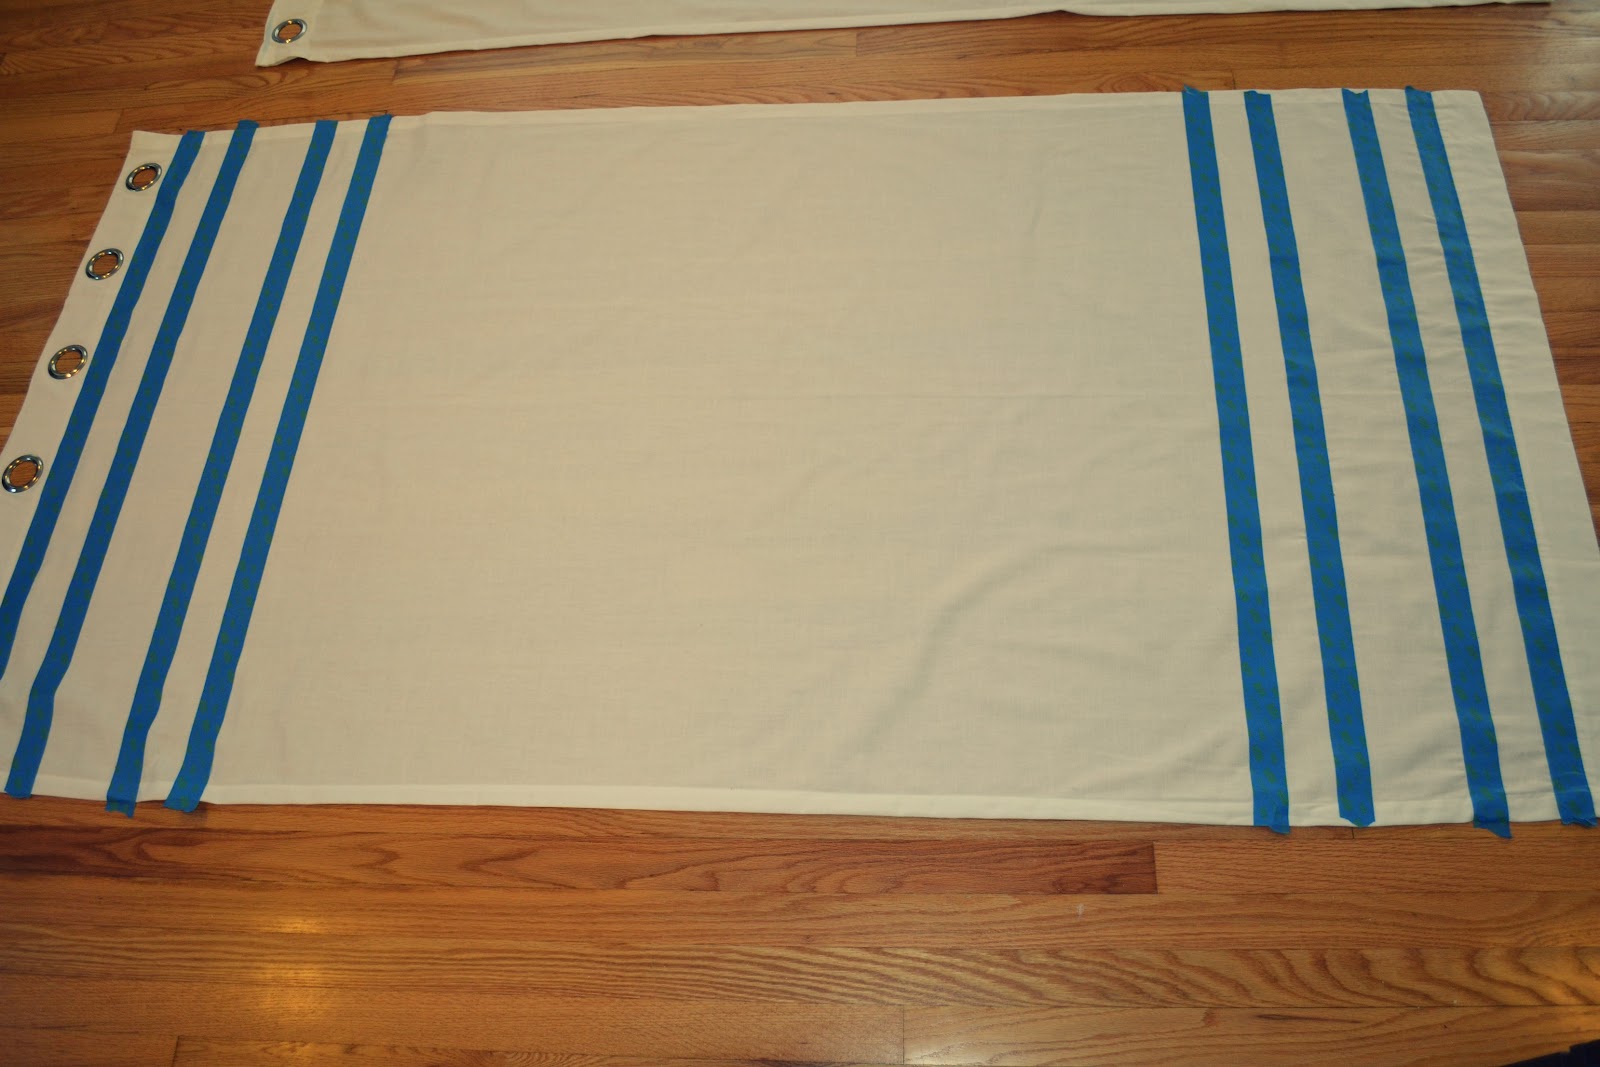
To begin I took the blue painters tape
and marked the first line right above the hem. I did this for both
the top and bottom, then measured with my yard stick 2 inches and
made 4 or 5 very small marks along the fabric. I then took the yard
stick and placed it on the small marks so I could place my next line.
Since I am a perfectionist the yard stick helped make it easier and
faster to create a straight line. Make sure there are no bumps or
folds in your fabric. Once I got my second stripe down I
measured 4 inches to make my next line, then 2 inches to make the
last line.

Time to paint :)
I used more paint then I was expecting.
I actually finished and even scraped the bottom of my paint can. The
fabric really absorbed the paint. Make sure you put it on evenly and
if your paint color is dark you may need to apply 2 coats. I painted
the green lines first and then let it dry before applying the blue
paint.


Once all paint was dry I removed the
tape and Viola...:)

I was pleasantly surprised!!
Ohhhh and this is what I woke up to this morning... I think he likes the curtains too. :)

No comments:
Post a Comment